![]()
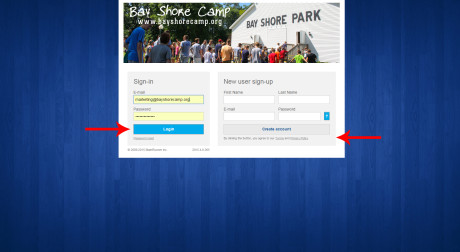
Step 1 – Getting Your Account
Use the link above to access our new online registration.
Welcome to our new online registration! If you are a returning registrant (with the new system) you can log into your account on the left hand side. If you are new, you can create your account using the the account creation on the right hand side.
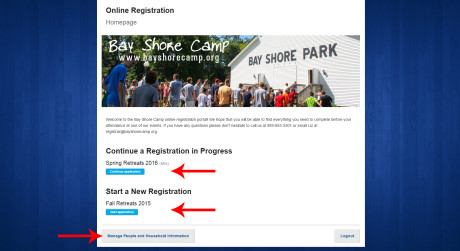
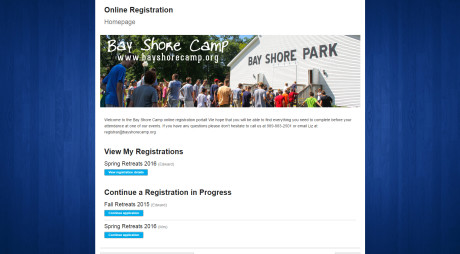
Step 2 – The Homepage
Once you’ve created an account and have logged in, you have multiple options on what to do:
The Top Arrow allows you to continue a registration that you have not completed yet
The Middle Arrow allows you to start a new registration (found in Steps 5 through 9)
The Bottom Arrow is how you access your household contact information (found in Steps 3 & 4)
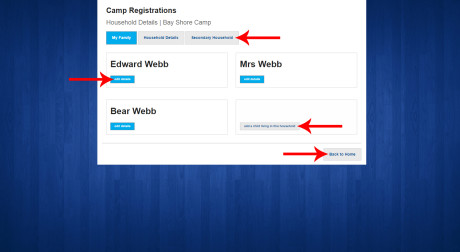
Step 3 – Household Details
This is your household details page. From here you can add people to your household, edit their contact details, and make sure that all their information is updated before registering for any events at Bay Shore Camp. You’ll see three tabs across the top – My Family, Household Details, and Secondary Household.
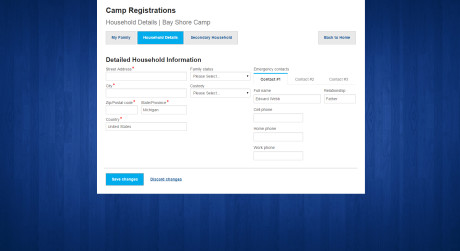
Step 4 – Household Details
This is where you will make sure that all your contact information is correct. The information contained here is how we will send you information for upcoming events and any information that you need before camps and retreats. You will also need to make sure we have an emergency contact on file. During the registration process for any event, you’ll be asked to confirm all this information. Filling it all in now will save you time later!
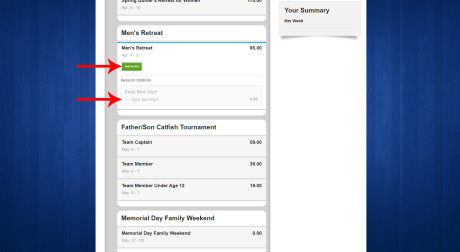
Step 5 – Register for your event!
After selecting a season that you want to register for (blue buttons on the home page) this is when you will have the chance to select the actual retreat you want to attend. To register for the event, you will need to select “add to list” which will then add the registration item to the right hand side of the screen (as seen in step 6). You’ll want to make sure that you also select any extras that you want to include for your retreat. These extras include early bird start, private housing, and any retreats with extra meal plans. Do note that some items like private housing are limited, and they are on a first come first served basis.
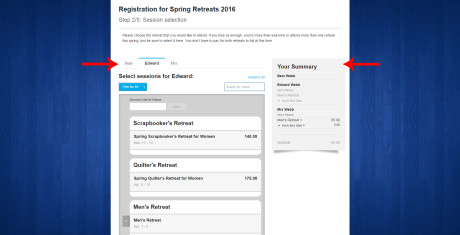
Step 6 – Register Multiple People
It doesn’t matter if you’re registering for a retreat or for summer camps, just be sure to select the number of people you want to register from your family and then use the tabs across the top to change between family members. As you change between them you can create individual registrations per family member, which will then show up under each family members name on the right hand side.
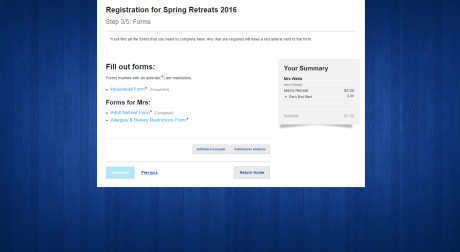
Step 7 – Forms
This is where you will find allergy and health forms, as well as any other forms that need to be completed for specific events. You’ll also find a form that will include T-Shirt sizes for any camps or retreats that need a T-Shirt size from you. Any forms marked with a red asterisk must be completed before moving on with your registration.
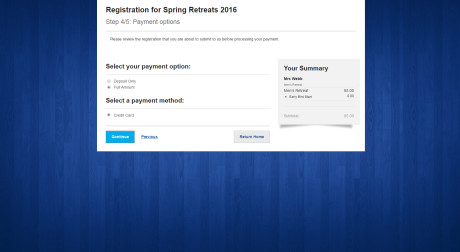
Step 8 – Payment Options
This is where you will tell us if you’ll be paying with the deposit or the full amount.
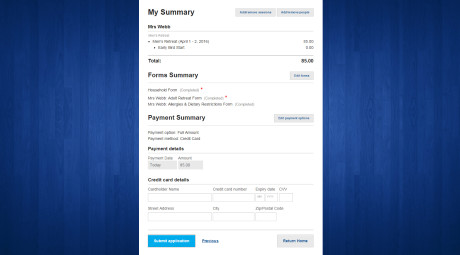
Step 9 – Payment
Take this time to review your registration and then at the bottom you can put in your credit card information to be charged for the option that you chose in Step 8.
Please note that we only currently accept the following credit cards online: Visa & Mastercard
Step 10 – Registration Complete
Once your registration is complete you can return to your home page to view any current and complete registration.
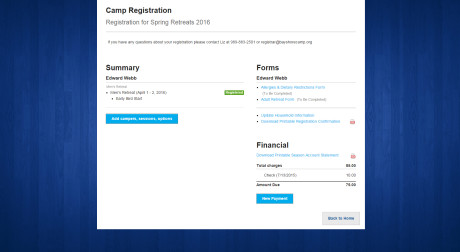
Step 11 – Registration Summary
If you choose to view your current registration you will find the following items on this page:
1) Registration Summary
2) Forms that may need to be completed or changed
3) Financials with a downloadable statement and an option to make a payment on your account